Let's Keep Things Light


Throw shade in a good way
If there’s one thing that makes or breaks a photo, it’s light. You can have the best camera, the most interesting subject, but if the lighting isn’t right, the image will fall flat. Elevate your photography game by understanding these basics about lighting.

Natural vs. Artificial Light
Natural light is exactly what it sounds like—the sun. It can be soft and golden during sunrise or sunset (hence the famous golden hour), or harsh and direct at midday. Learning to work with the sun is one of the best ways to grow your skills as a photographer.
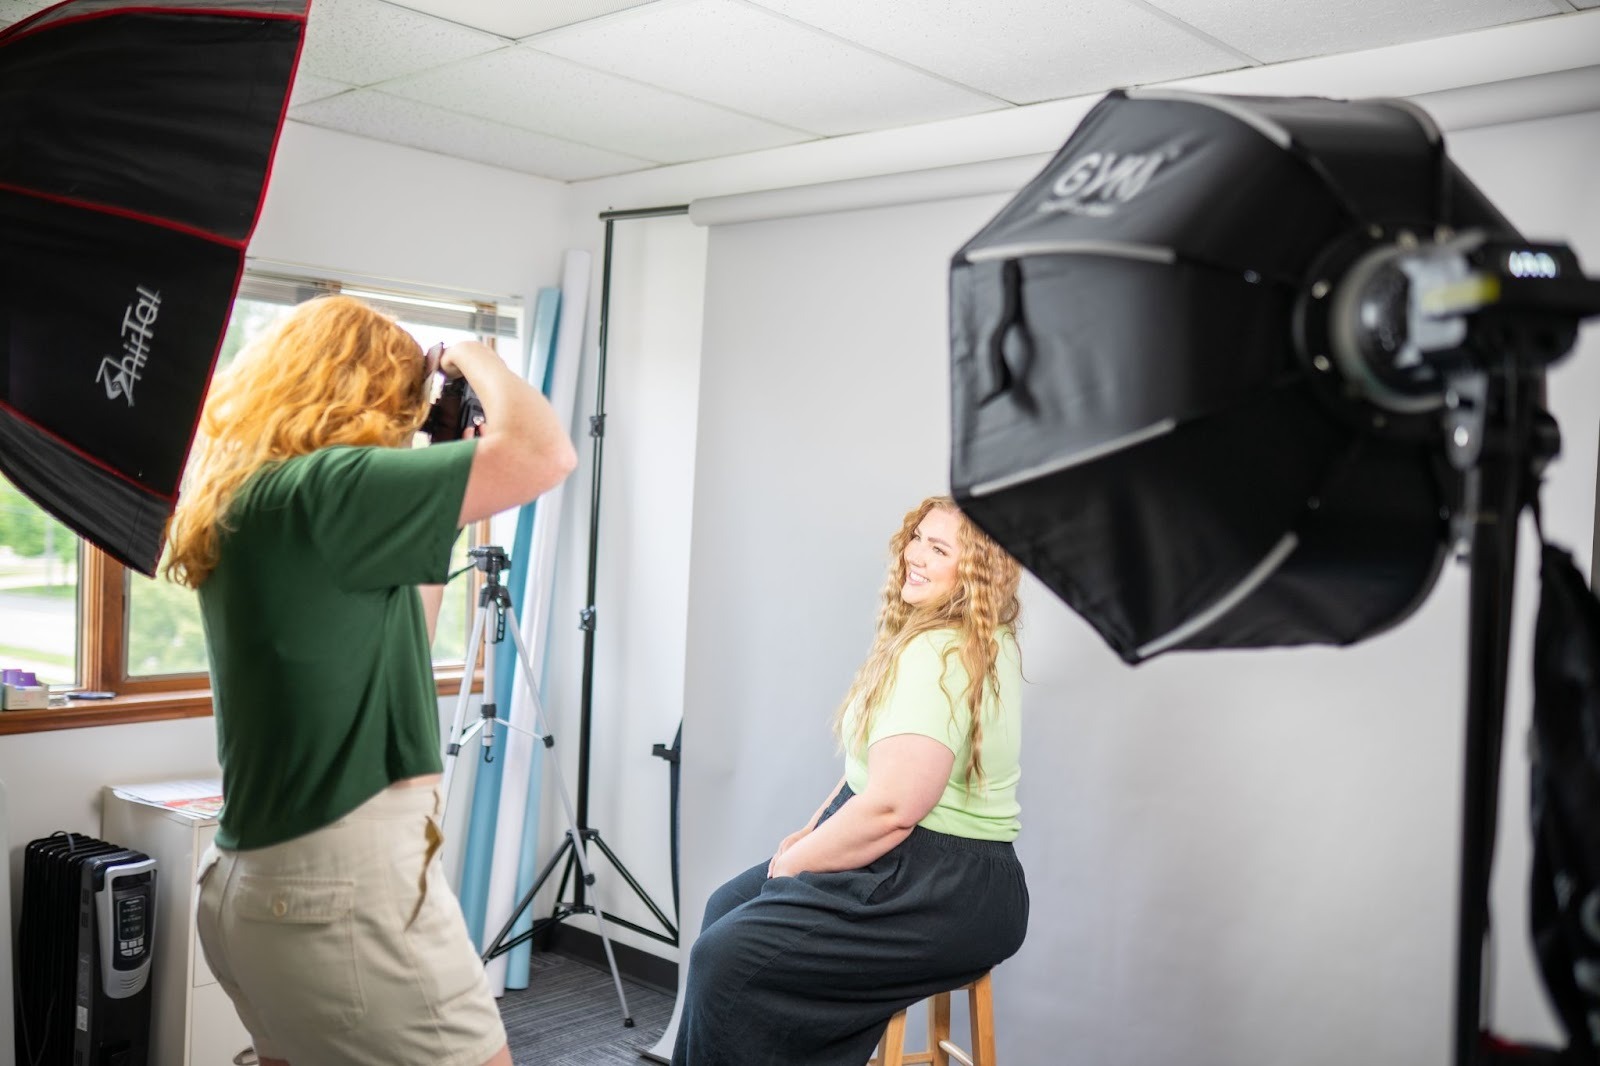
Artificial light comes from lamps, flashes, LEDs, and studio equipment. Unlike the sun, it gives you full control—you can move it, soften it, or change its color.

Hard vs. Soft Light
Hard light happens when the light source is small or direct (like the midday sun or a bare light bulb). It creates sharp shadows and strong contrast.
Soft light comes from a bigger, diffused source (like sunlight on an overcast day, or light filtered through a softbox). It creates gentle shadows and a more flattering look.

Direction of Light
Where your light is coming from completely changes the mood of a photo:
- Side lighting creates depth and texture by casting shadows on one side of the subject.
- Front lighting is when light falls directly on the subject’s face. It can be bright, clear, but sometimes flat.
- Backlighting is when the light source is behind your subject. This is great for dramatic silhouettes or glowing edges of hair.

Key Light vs. Fill Light
When working with multiple lights, you’ll often hear about key light and fill light. The key light is your main light source—the one doing most of the work to illuminate your subject. The fill light is softer and helps reduce the shadows created by the key light. For example, in a portrait, the key light might be placed at an angle to add drama and depth, while the fill light gently balances things so the shadows aren’t too harsh. Understanding this relationship is the foundation of classic “three-point lighting” setups used in photography and film.

Temperature and White Balance
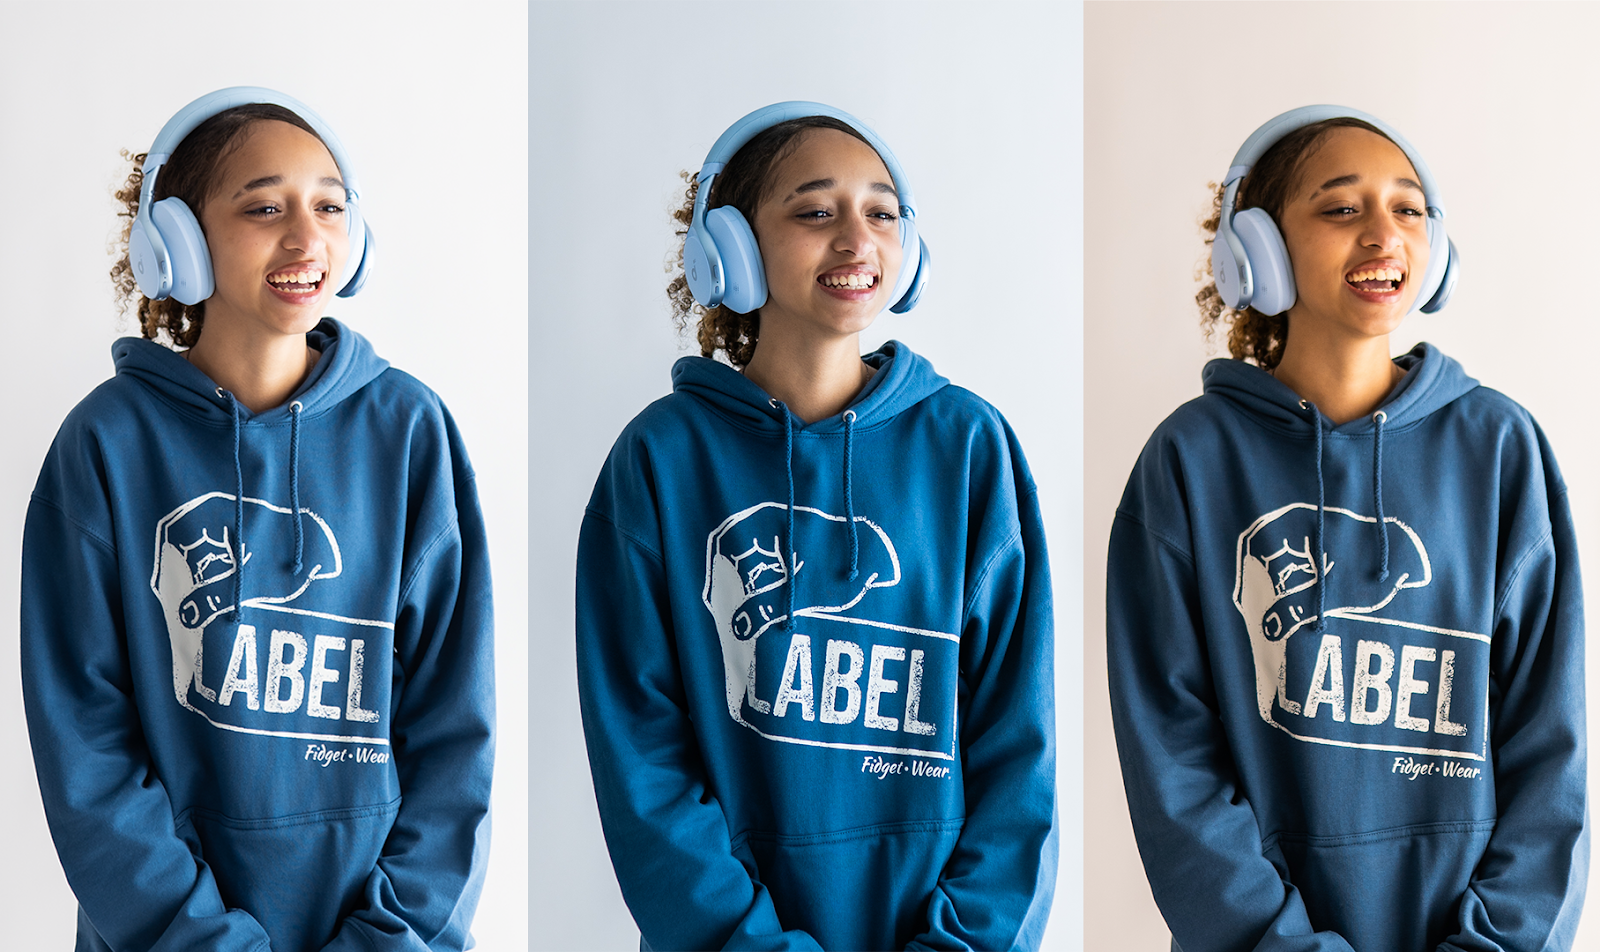
Light has color, too. A candlelight dinner feels warm and orange, while office fluorescents often look cool and blue. Cameras measure this in Kelvins (K):
- Warm light (2,000–3,500K) feels cozy and golden.
- Neutral light (4,000–5,000K) feels balanced and natural.
- Cool light (6,000K+) feels crisp and bluish.

Adjusting your camera’s white balance helps you keep skin tones and colors looking accurate, no matter the light source. We truly can’t emphasize enough how important it is to check your white balance settings before shooting.
Tools to create, bounce, reflect, or soften light
Photographers often use a few simple tools to control how light behaves:
- Reflectors: Bounce light back onto a subject to brighten shadows.
- Diffusers: Soften harsh light by spreading it out.
- Modifiers (like umbrellas and softboxes): Shape and control artificial light.
Final Thoughts
At the end of the day, lighting is less about having fancy gear and more about paying attention. Where is the light coming from? How hard or soft is it? What color does it have? Once you start noticing these things, you’ll begin to see photos differently.
Lighting can feel technical, but with practice, it becomes instinctual. And honestly? It’s one of the most fun parts of photography to experiment with.


